Micropython with python 3.8 and esp8266
Hello! Folks how are you doing? I'm sure you're doing great these are difficult times and we the programmers and coders mustn't let anything come in between us and our cravings for knowledge. So, today in this blog I will tell you how can you setup micropython with esp8266 or nodemcu board , if you are a newbie then I will suggest you to use nodemcu or any other development board , cause it will be easy for you to learn the concept for micropython.
MicroPython

MicroPython is a software implementation of a programming language largely compatible with Python 3, written in C, that is optimized to run on a microcontroller. MicroPython is a full Python compiler and runtime that runs on the microcontroller's hardware.
NodeMCU

The NodeMCU (Node MicroController Unit) is an open source software and hardware development environment that is built around a very inexpensive System-on-a-Chip (SoC) called the ESP8266. And, you have to program it in low-level machine instructions that can be interpreted by the chip hardware.
This microcontroller is widely used for IoT applications and supports micropython framework.
Well micropython is supported with its other variants as well like esp32 , etc.
MicroPython and ESP8266(Nodemcu)

To use micropython with esp8266 we have to follow certain steps and there are few requirements that we have to fulfill before setting up this framework. I am going to show you how to do it on windows.
NOTE:- I am using windows 10 home (single language) , if you are on some other operating system feel free to contact me as it is quite simple to setup on other operating systems.
Requirements:-
1. You need to have Python installed 2.7.6+ or 3.4+
2. You need to install esptool using pip package manager.
Use this command to install esptool - "Pip install esptool"
Once installed now we are good to go.
Installing/Setting up micropython:-
1. Open CMD and erase the flash in order to remove any previously uploaded program using this command.
esptool --port COMx erase_flash
replace "x" with the port you have your board attached to for example COM3, COM4,etc.
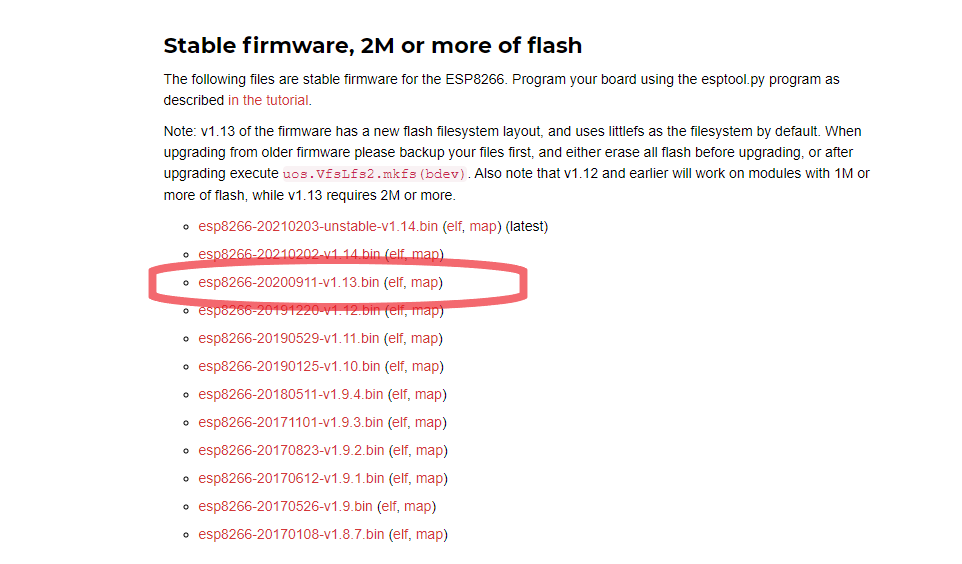
2. Download firmware from this link.
3. Navigate to the directory where you have downloaded the firmware and copy-paste this command in the terminal make sure to choose the correct COM port and change the name of the firmware to the firmware version you have downloaded.
esptool --port COMx --baud 460800 write_flash --flash_size=detect -fm dio 0 esp8266-20190529-v1.13.bin
here, I am using v1.13 of the firmware change it to the version you are using.

If you get some output like this it means that firmware has been flashed correctly , now all we need is a serial program like repl . I prefer ampy.
You can install ampy using pip:-
"pip install adafruit-ampy"
NOTE:- for esp32 the above flashing command won't work it's for esp8266 only.
4. Let's use ampy :-

Now, we have setup the serial monitor and MicroPython let's write our first line of syntaxes in MicroPython terminal.
5. For that in windows you need to download Putty(64-bit).
Once downloaded , fire up putty and configure it like the way is shown in the image.

Replace COM3 with the port number you have your NodeMCU or esp8266 chip attached to.
After that click on open.

If you get this output it means you have successfully setup MicroPython with esp8266, congratulations.

If you are able to run these commands without any errors congratulations micropython has been setup successfully on your NodeMCU. Now be creative and innovative with the power of python itself.
Want to test the installation clone this repo , remember the options from 1 to 4 will work on NodeMCU only.
Still facing errors?
contact me:-
mail - shikharsinha34920@gmail.com
LinkedIn - Profile
Github- Profile
Have a great day , see you at the next blog where I will explain it to you how you can unleash the power of Python and MicroPython altogether.


Really good!
ReplyDeleteThanks!
Delete